
Let's Talk
Interested in learning more about what Barracuda has to offer? Please contact us at 985-262-4776 or complete the form below to send us an email.
ULTRASONIC
Phased Array Ultrasonic Testing
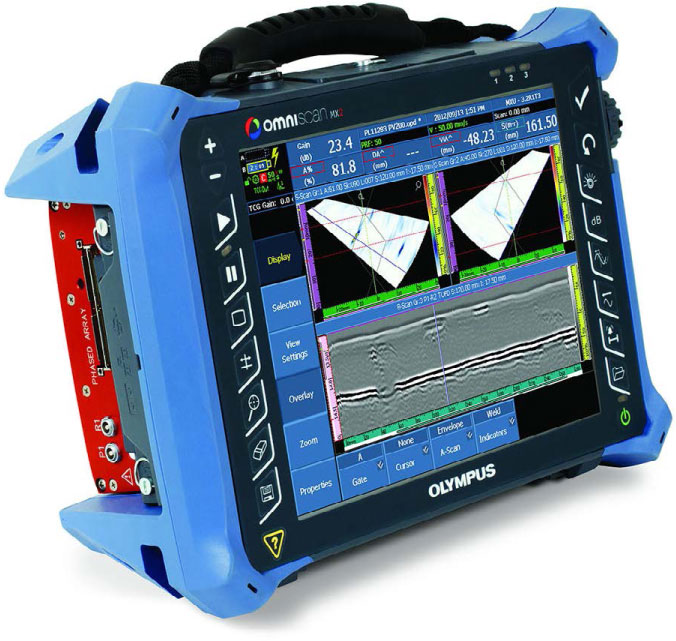
Phased array ultrasonic systems utilize multi-element probes, which are individually excited under computer control.
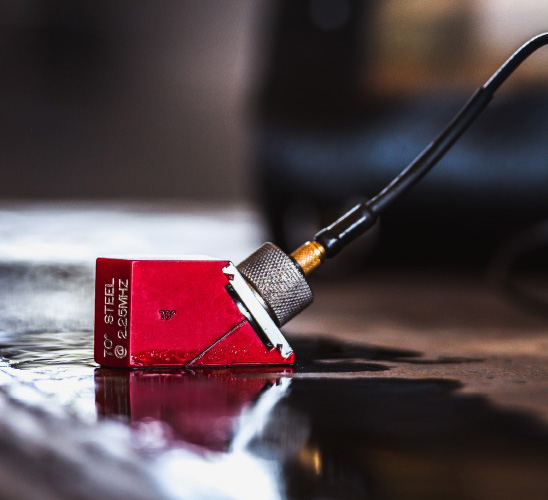
By exciting each element in a controlled manner, a focused beam of ultrasound can be generated. Software enables the beam to be steered. Two and three dimensional views can be generated showing the sizes and locations of any flaws detected.
Ultrasonic phased array systems can potentially be employed in almost any test where conventional ultrasonic flaw detectors have traditionally been used. Weld inspection and crack detection are the most important applications, and these tests are done across a wide range of industries including aerospace, power generation, petrochemical, metal billet and tubular goods suppliers, pipeline construction and maintenance, structural metals, and general manufacturing.

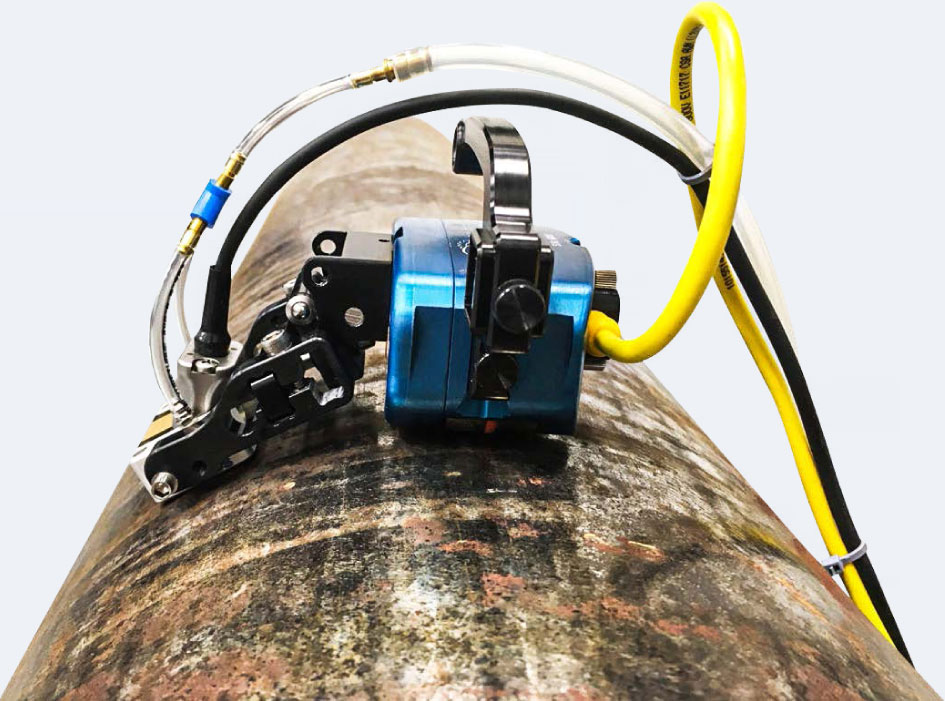
The benefits of phased array technology over conventional UT come from its ability to use multiple elements to steer, focus and scan beams with a single transducer assembly. Beam steering, commonly referred to sectorial scanning, can be used for mapping components at appropriate angles. This can greatly simplify the inspection of components with complex geometry. The small footprint of the transducer and the ability to sweep the beam without moving the probe also aids inspection of such components in situations where there is limited access for mechanical scanning. Sectorial scanning is also typically used for weld inspection.
The ability to test welds with multiple angles from a single probe greatly increases the probability of detection of anomalies. Electronic focusing permits optimizing the beam shape and size at the expected defect location, as well as further optimizing probability of detection.
The ability to focus at multiple depths also improves the ability for sizing critical defects for volumetric inspections. Focusing can significantly improve signal-to-noise ratio in challenging applications, And electronic scanning across many groups of elements allows for C-Scan images to be produced very rapidly.
Traditional Ultrasonic Testing
Ultrasonic Testing (UT) uses high frequency ultrasonic waves to detect surface breaking and internal imperfections, measure material thickness and determine acceptance or rejection of a test object based on a reference code or standard.

In simple terms, an ultrasound transducer is moved over the material being inspected, emitting pulsed waves of high frequency sound which travel through the subject matter and return to the transducer or a separate receiving device. Changes in the amount of sound received reveals imperfections in the subject material.

Pulse-Echo & Through Transmission
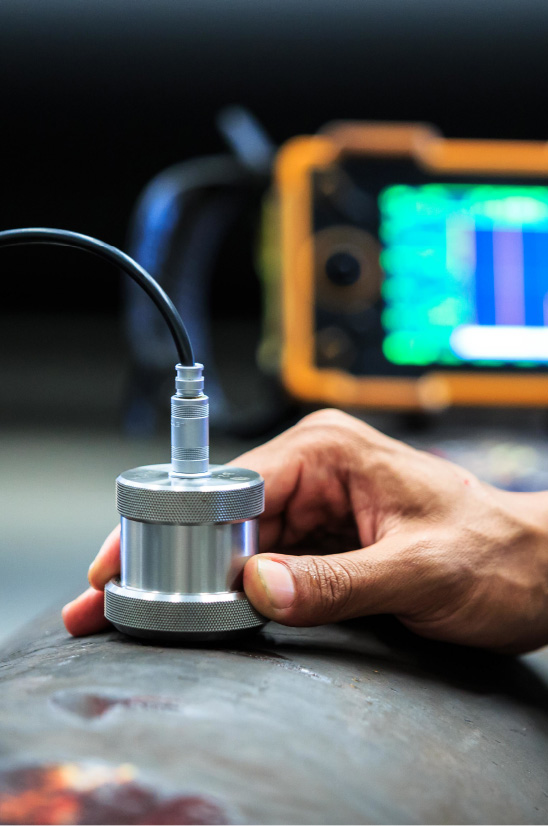
In pulse-echo testing a transducer sends out a pulse of energy and the same or a second transducer listens for reflected energy, also known as an echo. Pulse echo is especially effective when only one side of a material is accessible. Through transmission is performed using two transducers on opposing sides of the specimen. One acts as a transmitter & the other as a receiver. Through transmission is useful detecting discontinuities that are not good reflectors & when signal strength is weak.
In pulse-echo testing a transducer sends out a pulse of energy and the same or a second transducer listens for reflected energy, also known as an echo. Pulse echo is especially effective when only one side of a material is accessible. Through transmission is performed using two transducers on opposing sides of the specimen. One acts as a transmitter & the other as a receiver.
Through transmission is useful detecting discontinuities that are not good reflectors & when signal strength is weak.
Normal/Angle Beam - Normal beam testing uses a sound beam that is introduced at 90 degrees to the surface, while angle beam utilizes a beam that is introduced into the specimen at some angle other than 90 degrees. The choice between the two is made based on:
- The orientation of the feature of interest so that the sound may produce the largest reflection from the feature
- Obstructions on the surface of the specimen that must be avoided
Some Of The Most Common Ultrasonic Applications Are:

- Flaw detection (cracks, inclusions, porosity, delamination etc.)
- Erosion / Corrosion thickness gauging
- Assessment of bond integrity
- Estimation of grain size in metals
- Estimation of void content in composites and plastics
DETERMINE THE PROPER ULTRASONIC APPLICATION FOR YOUR NEEDS


